Discovering your menstruation as a spiritual practice
Yasmine understands her menstruation as a spiritual practice and shares in this interview how she is connecting more with her own body through cycle awareness.

Creating an online course is not as difficult as you might think. In this comprehensive overview we explain how you can develop your own online course in six steps. You can then upload this online course directly to Vulvani. Not only will you be helping an incredible number of people, but you’ll also be earning money along the way. A win-win for all.
Are you an expert in female health? Share your knowledge with countless people. Together, we empower women to make confident choices about their bodies. Read more!
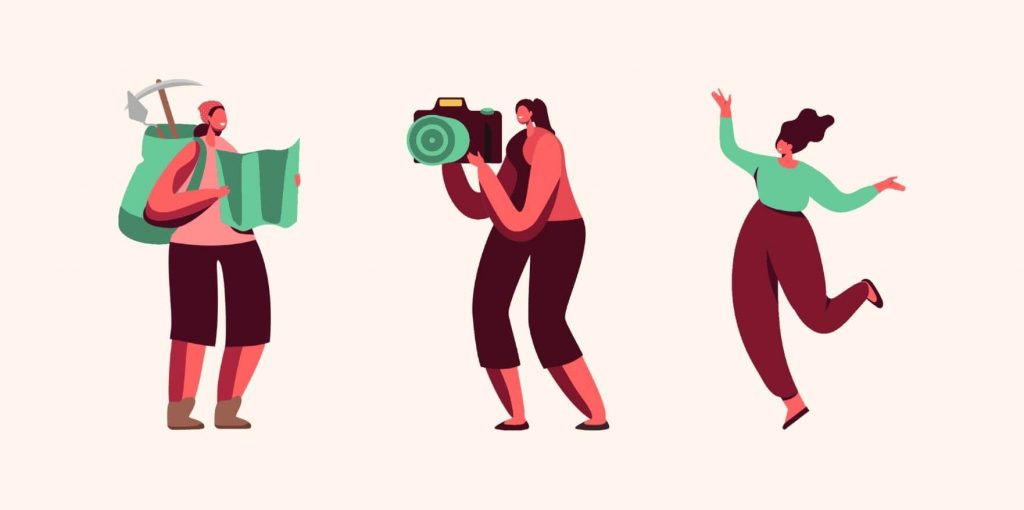
The first step is to find your idea. Decide what kind of content you want to teach, who your target audience will be and how much time you want to spend on creating the online course. There are many ways to find topic ideas for an online course. One way is to do a simple keyword search and see what comes up. Another one is to go through your own personal experience and find topics that you have learned or have taught to others already.
What have you been working on for years? What have you studied? Do you have any certificates or further education? Maybe you even have an awesome hobby, where you have learned autodidactically some impressive skills? The range of topics is infinite. You should ask yourself: What am I passionate about? On what topic do I want to create an online course?
Another way to find a topic idea for your online course is by looking at the current market trends and seeing what is popular or trending. You can also research what other courses are already out there in your niche or industry. Ask yourself: Can I create something different from them and provide value to my audience?
Once you have committed to a topic, it’s time to create a rough outline. What is the journey and storytelling you want your participants to experience?
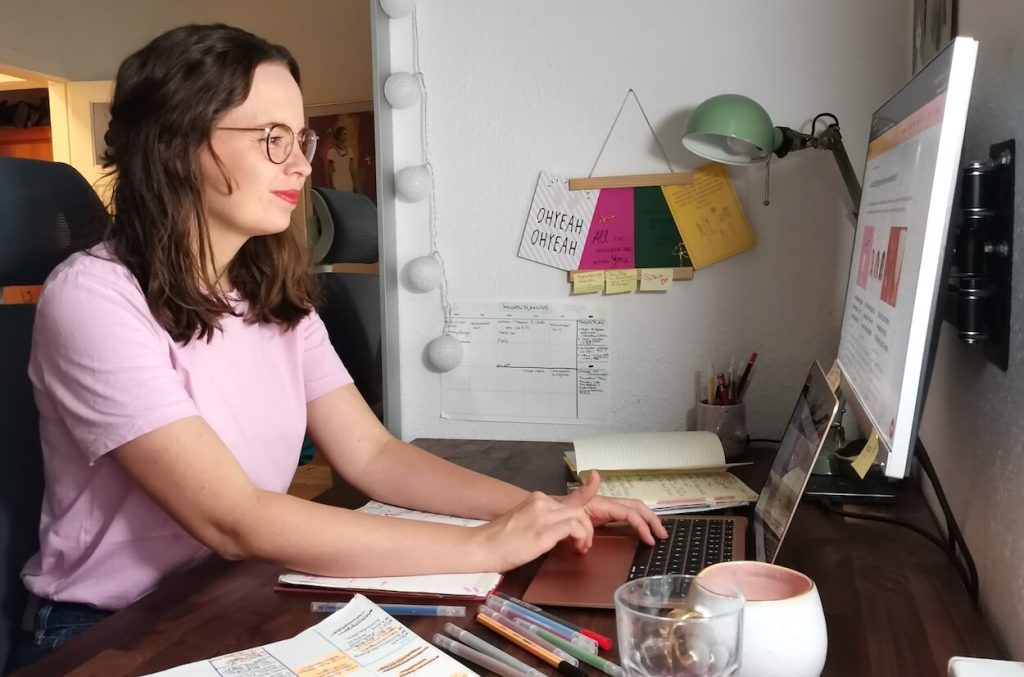
Now it’s time to get down to business. You are writing the heart of your online course – the script. It contains all the content and lessons you want to teach. You might start by creating a text document, followed by the outline and the final text. Depending on how you feel in front of a camera, you have two options.
Either you are writing your script word by word. In this case you will be reading the exact text in front of the camera (no worries – your audience won’t notice. More on that in step 3). Or you simply write down bullet points for each lesson, which will help you keep the common thread while lecturing.
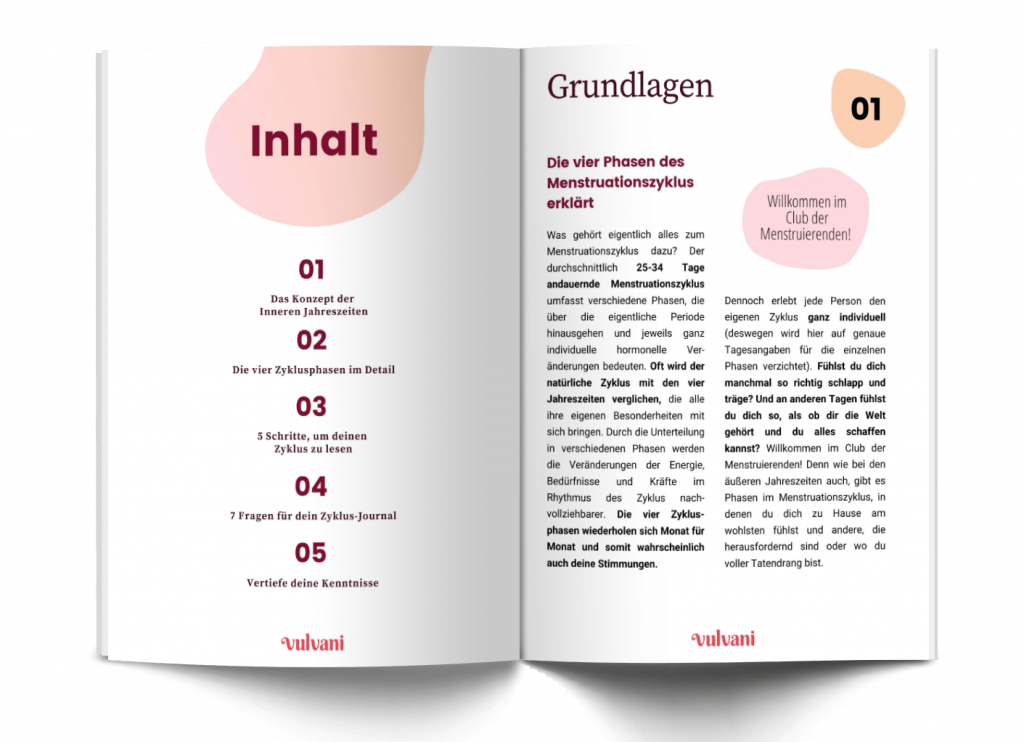
Your main learning format will probably be video lessons. In order to further support your students and to create an even more compelling learning experience, you might also create supporting documents. On Vulvani beside uploading just videos, you can also provide PDF documents, audio files (e.g. for meditations), quizzes or even embed external HTML. There are no limits to your imagination.
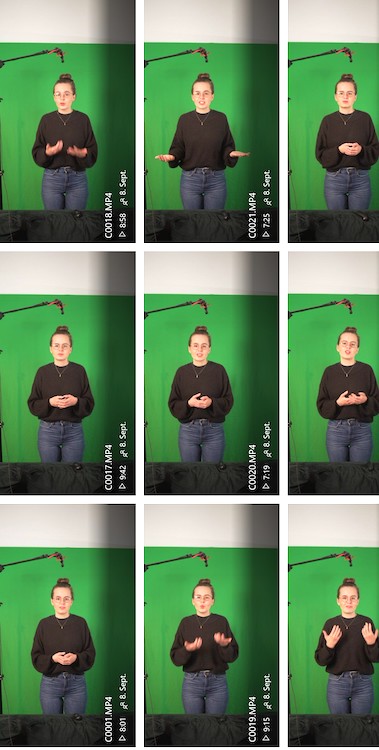
The next step is recording yourself with a camera for your online course. You should take care of the lighting, sound quality and video quality before you start recording. It’s always best to practice beforehand so that you are comfortable in front of the camera and know what you are going to say.
In case you don’t feel comfortable in front of the camera, you might also create a presentation and talk to it from the background. You could achieve this by recording your screen and using a microphone.
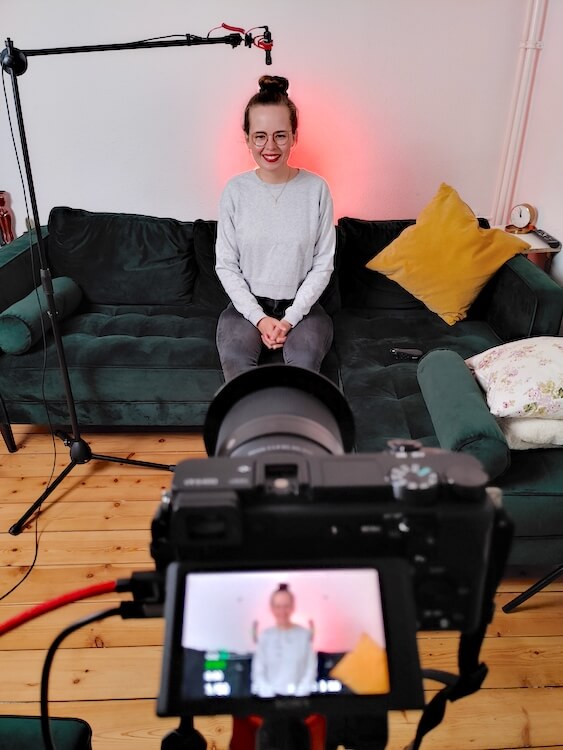
The camera loves light. The better the light, the higher the quality of your video. Your room should be bright, without too strong drop shadows. The light should be balanced. One of the simplest ways is to record yourself during daylight in a bright room, without strong sunbeam flowing into the room.
Another way would be to get some video lighting. The range of products is big and you will find something matching your budget.
You can either use a camera, like a DSLM or DSLR, or even use your smartphone. Especially in good lighting, smartphone cameras get better and better and serve your needs perfectly. Just make sure the camera doesn’t wiggle while recording. The best way to prevent this is a tripod.
It’s definitely worth investing in a good microphone for higher-quality audio recording, since good audio will improve the learning experience a lot. You can get decent microphones from 30-40€ already.
As mentioned in step 2, you might be reading the script into the camera, without your audience noticing. The best way to achieve this kind of task is to use a teleprompter. A teleprompter lets you read your script, while directly looking into the camera. An easy but powerful tool.
Microphone: RØDE VideoMicro compact microphone
Lighting: Godox SL-60W & RGB LED Panel Video Light & Neewer Softbox
Teleprompter: Desview T3 Teleprompter with Remote
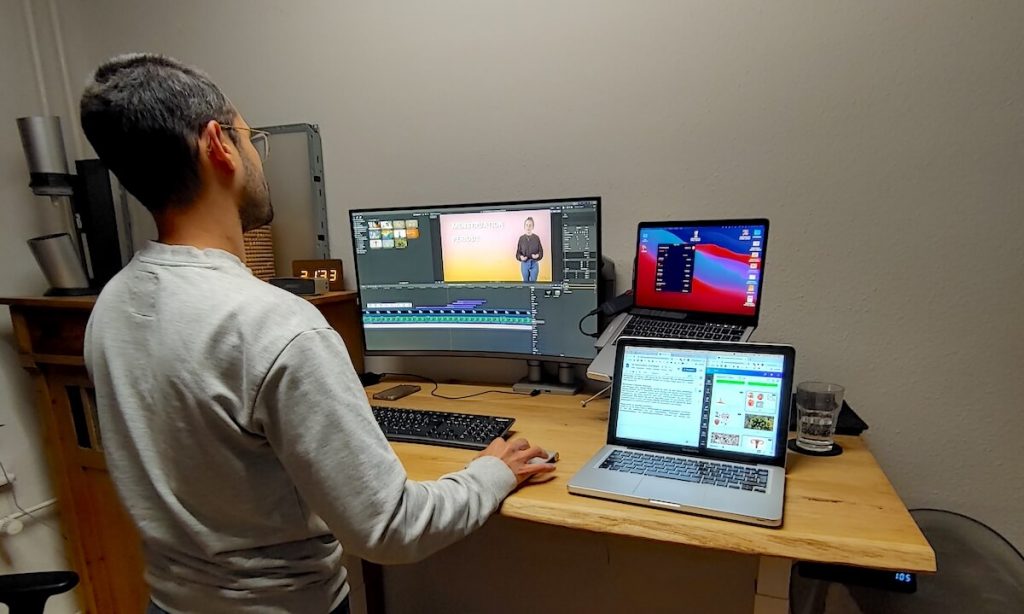
The fourth step is editing the videos so that they can be uploaded. Most likely you didn’t record yourself in just one take, without any slips of the tongue or any other outtakes. In this case you can just cut the outtakes from the finished videos.
Generally video lessons from 3-10 minutes are a great length for your audience to consume your input. If the lessons are too long, people might get tired slowly. In case a video lesson is very long, maybe there is a way to split it into two separate videos?
Sometimes a little improvement of colors or brightness might also be necessary. Video editing is a skill that many people in the digital industry have. There are even many free programs with which you can edit video. For instance, all the Apple computers have a built-in software called iMovie. You can achieve decent results with free software already.
If you don’t have the skills yet, you can even hire someone to do it for you. Depending on the length of your online course and the location of the editor, prices for video editing start in the hundreds and can go up to thousands. On platforms such as Fiverr, Upwork or 99designs you will find plenty of freelancers matching your budget and helping you with video editing.
The fifth step is to create some metadata for your online course. You might start with a description, title, testimonials, pricing information, and other necessary information about your online course. Outline some unique selling propositions for your online course. Ask yourself questions like:
The last and final step is uploading all of the videos onto the Vulvani platform. Our support team will help you achieve exactly that. Together with our team, you can create a nice structure. We also make sure that your online course is optimized for search engines (SEO) and promote your online course through different channels.
Share your knowledge on Vulvani as an expert! Register here for free

Yasmine understands her menstruation as a spiritual practice and shares in this interview how she is connecting more with her own body through cycle awareness.

What options are there for male birth control? Ailsa delivers an overview of what is available now, and what may come in the future.

Sustainable underwear? The founders of TUKEA talk about fair labour conditions, body diversity and body literacy.